How to level the floor under the laminate
Choosing modern flooring, it is necessary to strictly observe the technology of their installation. One of the technological requirements laminate flooring is the preparation of a solid and even foundation. This raises the question of how to level the floor under the laminate, spending a minimum of effort and financial resources. It is worth noting that with all the desire for great savings, it will not be possible to achieve due to the fact that the building materials necessary for leveling the floor can not be attributed to cheap goods. But they allow you to achieve in a short time a perfectly flat floor surface on which the laid laminate will look great.
Content
- Self-leveling mixes
- Algorithm of the device of a bulk floor
Self-leveling mixes
If when checking the degree of horizontal location of the floor, carried out using a water level, it turns out that the surface has a slight deviation (0.6-2 cm), then perform a coupler of self-leveling mixtures. This technology is also called differently. bulk floors.
Algorithm of the device of a bulk floor
1. The concrete base is cleaned of the old coating, dirt and dust are removed using an industrial vacuum cleaner. In the absence of this equipment, brooms and rags are used.
2. The surface is primed and covered with waterproofing material..
3. Using an electric drill equipped with a special nozzle, a dry self-leveling mixture is kneaded. At the same time, they do not depart from the recommendations contained in the instructions.
4. The diluted mixture is poured onto the floor in a small strip and distributed with a spatula or needle roller.
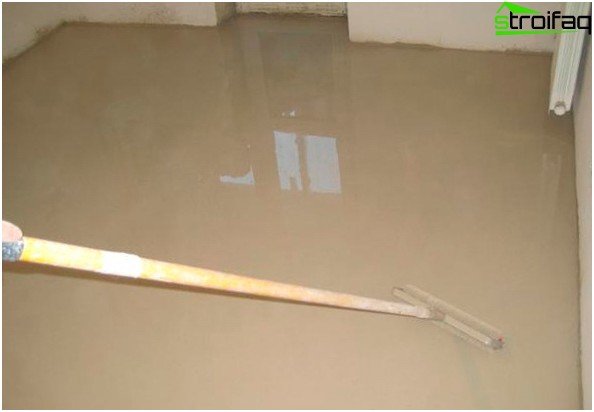
The bulk floor hardens much earlier than the cement screed; due to its filling, repair time will be reduced
5. Next, the next portion of the mixture is kneaded and the next strip of floor is poured.
Important! You can’t dilute the whole mixture immediately, since its application time is limited, which is 10-15 minutes.
6. Indoors, drafts should not be allowed to ensure uniform drying of the self-leveling floor. You can lay the laminate in three days, it is so much necessary for the complete hardening of the mixture. In this case, the moisture level is measured – if it is below 5%, then lay the coating directly on the bulk floor. If more, then use a moisture-proof film and a substrate made of cork or synthetic material. This will provide better sound insulation..
Important! If the level of the floor height difference is less than 5 mm, and the laminate will be laid with the “floating” method, then the floors are not leveled. They only lay a vapor barrier film and a special soft substrate that will “absorb” all the minor irregularities of the defects.
Leveling the floor with a monolithic screed
A monolithic screed is arranged in a room where significant differences were revealed when measuring the floor level.
1. Before starting work, they also carry out the dismantling of the old floor covering, garbage and dust.
2. Next, using the level, draw a pencil on the walls along the perimeter of the location line of the future floor surface.
3. Install the beacons, for which they acquire the guides used in the installation of drywall. Beacons are placed at a distance of 60-90 cm from each other, combining them with the help of a level along the line marked on the walls. Beacons are attached to the surface of the base with a sand-cement mortar, in which they are pressed to the required depth. Or fasten with long self-tapping screws, having previously made holes in the concrete base with a puncher and hammering the dowels into them.
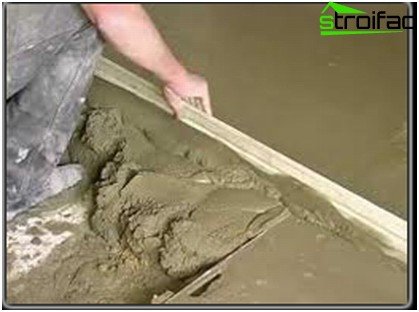
Monolithic screed is a laborious “dirty” process, but to this day popular due to its relative cheapness
4. Next, between the guide beacons, pour the prepared solution (sand – 1 part, cement – 3 parts, water – 0.55 parts). You can stock up on prepared dry mixes M200, which are diluted with water in accordance with the instructions printed on the package.
5. Using a special tool called a rule among builders, the solution is leveled. In this case, the rule is moved along the guides.
6. After a day, a person can walk on a hardened screed. Therefore, at this stage, the removal of lighthouse rails is carried out. The tubercles are cut off with a two-meter rule, and the cracks from the lighthouses are closed with a freshly prepared solution.
7. Wait two hours, which is enough for the solution to begin to set in the cracks, and wipe the entire surface of the monolithic screed with a wooden trowel.
8. Next, the screed is covered with plastic wrap, which will protect the surface from cracking. Instead of a film, you can moisten a screed a couple of times a day with water. Such a floor will become maximum durable only after 28 days.
Then you can start laying the laminate, not forgetting the vapor barrier and the substrate.
Cement chipboards – an operational method
To speed up the process of laying the laminate, cement-bonded slabs can be used to level the floor, sold in a ready-to-use form. When installing the floor from the DSP, the following algorithm is followed:
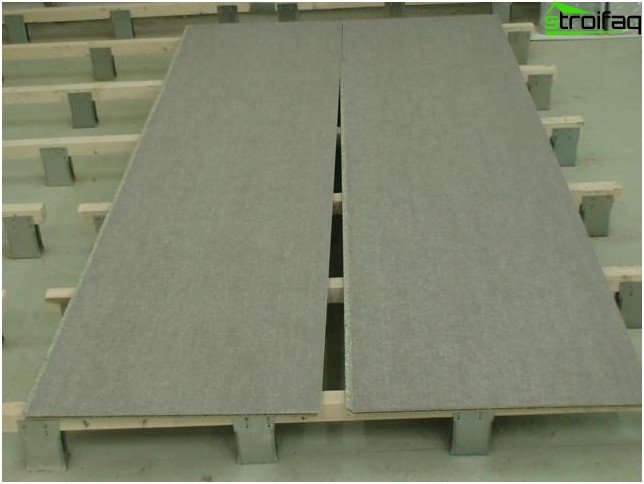
Leveling the floor with cement-bonded boards is carried out if the owners are not worried about the fact that the height of the room is reduced
1. Carry out preparatory work, similar to the method described above, and mark the floor line along the perimeter of the entire room.
2. The base is made of building boards, all of which are aligned using a water level along a drawn line. If necessary, lay pieces of plywood under the boards.
3. Fasten the aligned boards to the base of the floor, and then they place the DSP slabs on them and fix them using self-tapping screws.
4. Slots between the plates are coated with a Rotband.
5. Lay the substrate and lay the laminate.
Leveling wooden floors with plywood
The dismantling of old wooden floors is sometimes difficult and involves great material costs. The different size of the boards, which is often found in old houses, sometimes does not lend itself to scraping.
Therefore, it is more profitable to level such a floor by laying sheets of plywood or chipboard, on top of which insulation is also laid, solving another problem of an old wooden house.
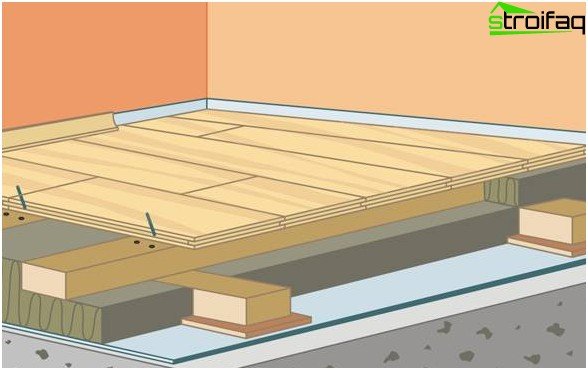
Leveling the floor with plywood allows you to lay an additional layer of insulation
True, in this case, it is necessary to provide a reliable support, which will not allow sagging stacked plywood sheets. For this purpose, lags are installed. Self-tapping screws act as lighthouses, after the installation of which the lag is installed. The distance between the logs should be approximately 25-30 cm. A leveling material is laid on top of the log and fastened. This floor leveling technology takes only 2-3 cm of height from the room, but it allows for laminate flooring.
We hope that the article gave you a general idea of how to level the floor under the laminate in any room suitable for this floor covering. Depending on the type of base, you can choose the most acceptable way to level the floor and try to do it yourself. In the absence of free time, you can contact the professionals, confidently and competently inviting them to complete all the work. With such a competent client, hacking will not work.


