DIY concrete floor
At all industrial facilities exposed to intense loads, concrete floors are arranged. In everyday life, this type of flooring is found in garages, workshops and other premises for utility use. Floors in the basement of country cottages are also poured with concrete. In terms of strength, durability and affordability, no other type of floor can compare with concrete floors..
Content
- Concrete floors: pouring technology
- Preparation of sand and gravel base
- Waterproofing device for concrete floors
- Cards – formwork for pouring
- Concrete floor reinforcement
- Concrete mixture pouring and leveling
- Grinding concrete surface
Concrete floors: pouring technology
The working process of the device of concrete floors can be divided into several stages:
- preparation of sand and gravel base;
- waterproofing;
- laying a reinforcing mesh or frame;
- concrete pouring and leveling;
- grouting the surface of the concrete layer;
- polymer coating.
It should be noted that any person can do the concrete floor with his own hands, however, a partner is still necessary at the stage of pouring concrete mortar for the prompt preparation of the mixture.
In this case, the cost of work will be significantly lower and will be reduced only to the cost of acquiring construction materials and remuneration to the auxiliary worker.
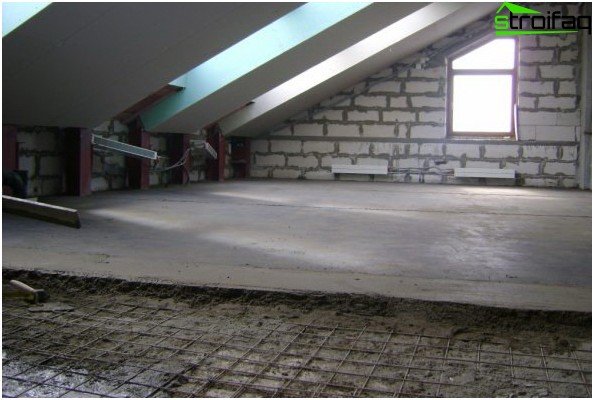
Pouring a concrete floor is most often carried out in several stages, for which the area of the room is divided into several sections limited by formwork
Preparation of sand and gravel base
1. Before you begin ground concrete device, preparatory work necessary.
2. The soil is removed to a depth of 15-20 cm at the site, which is supposed to be poured with concrete.
The bottom is leveled and tamped.
On a note! As a tamper, you can use a home-made tool, which is made from a meter or half meter log nailed to a board. Sometimes folk craftsmen attach handles to the side of a vertically located log so that it is more convenient to use the tool when tamping.
3. Next, a ten-centimeter layer of sand is poured, which is spilled with water and carefully packed.
4. A ten-centimeter layer of crushed stone is laid on top of the sand, the fraction size of which should be equal to 40-50 mm. Moreover, each layer must be sealed with a tamper.
5. To create a more even surface, a small layer of sand or crushed stone is poured over the gravel. Tamp the top layer again.
Important! To make it easier to monitor the thickness of the poured layers, mark on the wall their levels at a fine height.
Waterproofing device for concrete floors
As a waterproofing layer, specially manufactured roll materials or simple polyethylene can be used. In this case, it is desirable to choose a plastic film whose thickness is 100-200 microns. From a meter and a half film, you can make a three-meter film if cut from one edge. For greater reliability, polyethylene is spread in several layers. If the width of the room is more than three meters, then overlap the canvas, going to another sheet by 15-20 cm. Be sure the edges of the film should go onto the walls to the height of the floor, where they are fixed with adhesive tape.
Cards – formwork for pouring
If the room has a large area, the device of concrete floors is carried out with rectangles of a certain size, which in a professional language are called “cards”. The size of the plots depends on your productivity. A formwork is installed around the perimeter of the planned site, which can be used as freshly sawn wet wood or special laminated plywood. The size of the card is determined by the area of the floor laid during the work shift, i.e. performance. Along the perimeter of the card, formwork is installed from boards or special “formwork” laminated plywood.
Guides
- To the thickness of the concrete floor was the same everywhere, use guides. As they are most convenient to use pipes of rectangular cross section, which are sold on every construction market. As guides, you can also take a corner or in the extreme case of a round pipe. A cut board, a wooden block, if they have even edges, will do..
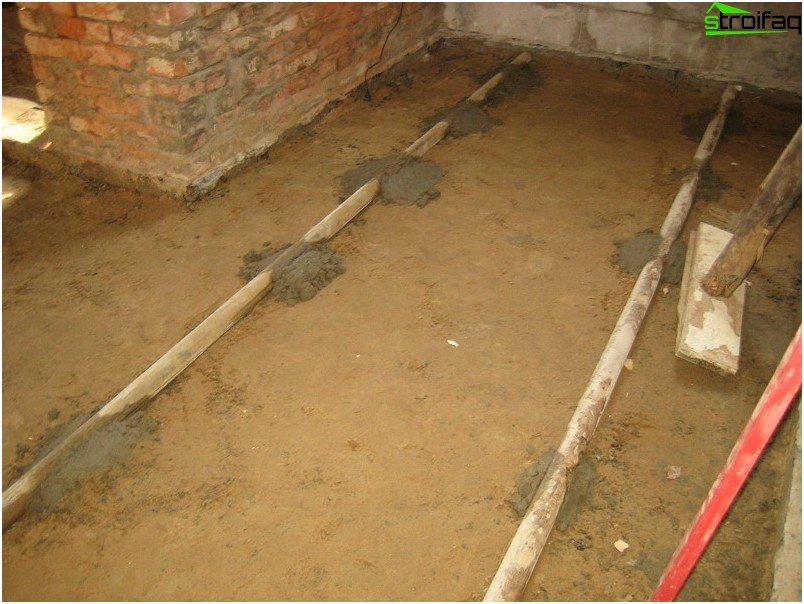
Guides
- Before pouring concrete, the guides are lubricated with special formwork oil manufactured in Germany. This technique makes it easier to separate the guides from the hardened concrete, as well as quickly rinse the cement milk. The German product can be replaced with used engine oil. If this is not the case, then a concentrated mixture of any available detergent and water is suitable..
- Install guides on special pins or “buns” made of thick concrete mortar. The guides are brought into a strictly horizontal state with the help of an optical level, a water level or a normal building level.
Concrete floor reinforcement
As reinforcement, you can use the road mesh (5x100x100 mm). Other mesh materials having smaller cells are also suitable. On the market you can find plastic nets, the cells of which are quite large, manufactured by manufacturers specifically for reinforcing concrete screeds.
Important! The reinforcing mesh cannot be laid directly on the ground, as this will not give the expected effect. A rigid mesh is lifted no more than 1/3 of the thickness of the screed, mounted on stands. Builders call them “high chairs.” Stands are placed on rectangles cut from asbestos-cement sheet. If the reinforcing mesh is soft, then it is pulled over the pins that stick into the ground.
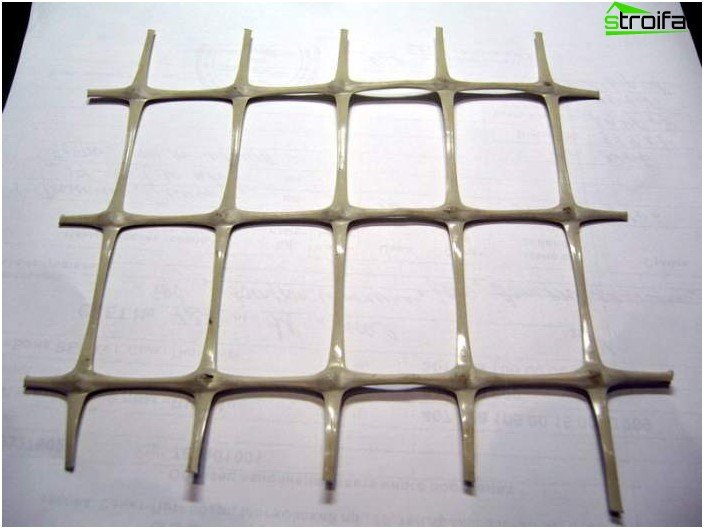
Concrete floor reinforcement mesh is used if intense load is applied to it.
A reinforcing cage is arranged if the concrete floor is subjected to increased loads. In this case, the frame is made by knitting from metal rods, the thickness of which is from 8 mm to 16 mm. In this case, more intensive vibration compaction of the concrete mixture is required..
Concrete mixture pouring and leveling
Since pouring the concrete floor should be carried out without long breaks, it is advisable to rent a concrete mixer when doing the work yourself. Self-preparation of cement mortar is cheaper than buying ready-made concrete. Although it is necessary to calculate everything: the cost of materials and their delivery, equipment rental, electricity costs. The quality of concrete directly depends on the ingredients used, which are mixed in the solution. Cement is chosen not lower than M400, but better – M500. Sand should be free of impurities, without clay and dirt. The solution is prepared from cement, sand, gravel, water, taken in a ratio of 1: 2: 4: 0.4.
Concrete is carefully dumped into the “card” and leveled with a shovel, making bayonet movements with it, which allow it to condense and remove excess air from the solution. It is better to use a depth vibrator for these purposes. In this case, the vibrator is lowered into the concrete mixture in a checkerboard pattern. After cement milk appears on the surface and crushed stone falls down, the vibration process is transferred to another place.
Concrete is leveled with the help of a three-meter rule (a special construction tool), which is supported by installed guides.
Important! In order for the rule to be able to move along the rails without falls and dips, it is necessary to maintain a distance of 2.5 m between them.
A more thorough leveling of concrete is carried out using a half-trick. This tool makes semicircular movements on the surface of a concrete floor with a small amplitude.
Important! Concrete screed care consists in three-day wetting of its surface with water. Then it is closed with a plastic wrap so that the concrete layer dries uniformly. In this case, it is desirable to exclude the presence of drafts, as well as direct sunlight on the concrete floor.
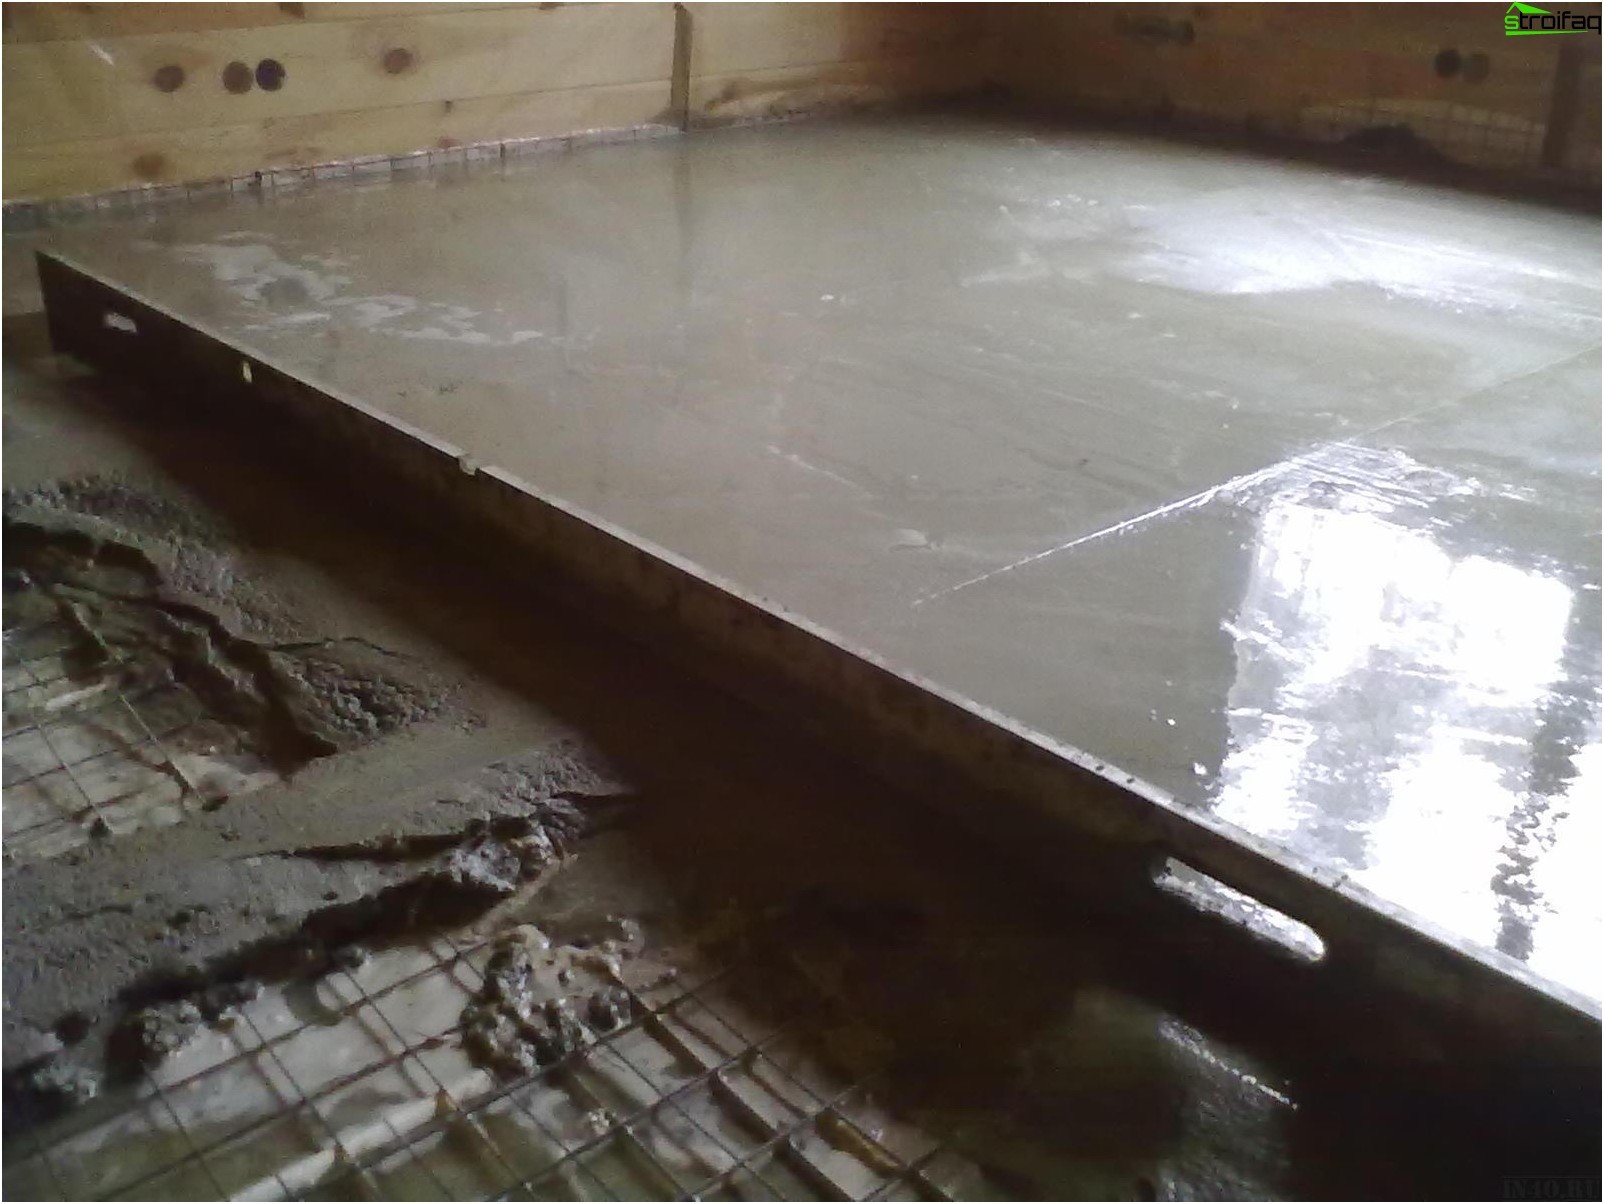
The surface of the poured concrete is leveled by the rule
Grinding concrete surface
The cement milk that emerges during the hardening of the concrete mortar hardens with a smooth film on the surface. This may interfere with subsequent adhesion of the concrete floor to the finish. Therefore, after a few hours or a maximum the day after pouring, it is necessary to grind the concrete surface, as a result of which it will be possible to get rid of the film. There are special grinders, but on your own you can perform this operation using a hand grinder. To it you need to purchase special corundum nets.
How to pour concrete floor in a garage
If wooden floor in your garage repair, it is better to dismantle it and replace it with a concrete coating. The following operations are performed:
- Dismantle the floor by scraping plinths and floorboards one at a time.
- Measure from floor to ground. It is necessary 30 cm to lay a ten-centimeter gravel layer, a five-centimeter layer of sand, a waterproof gasket, thermal insulation, as well as a layer of concrete mortar. If the measured distance is less than the specified value, then work to deepen the pit.
- Pour sand, then gravel and sand again. Flatten each layer and tamp carefully.
- Spread the waterproofing material, and its ends should go on the walls to which the film is attached with adhesive tape.
- Lay the insulating boards, cutting them into pieces of the right size. Of the residues, cut strips 10 cm wide and lay them along the walls around the perimeter.
- Start spreading concrete from the far corner, moving smoothly towards the door.
- Level the concrete surface with a rectangular wooden block..
- Use a trowel to align the recesses..
- Rub all the bumps with a finishing grater.
- Leave the concrete floor for several days to harden..
- Make three-centimeter slats (beacons) from a wooden bar, the length of which should be equal to the width of the room.
- Install wall beams from wall to wall and fill with concrete screed.
- Then remove the slats and pour concrete mixture into the resulting recesses.
- Align the screed towards the edges and door.
- Leave the screed to solidify for three days..
- Concrete floor ready.
If after reading the article you still have questions about how to make a concrete floor, then ask about it in the comments. We will try to dispel your doubts. Stock up on materials, construction tools and start mastering the science of building a concrete floor with your own hands..


