How to make a reliable and convenient birdhouse
The beginning of April is the ideal time to prepare accommodation for migratory birds. Let’s figure out how to make a birdhouse with our own hands together. To do this, we will familiarize ourselves with the intricacies of the manufacturing technology and the proper placement of these objects in the personal territory.
Content
- Varieties of houses for birds
- How to build a birdhouse with your own hands
- Materials and tools
- Main stages
- Decor for Dummies
Varieties of houses for birds
Before making a birdhouse, you need to determine its size. They depend on which birds will live in it:
Standard starling house (like starlings and other representatives of the feathered squad)
Dimensions:
- height – 40 cm;
- width – 15 cm;
- length – 16 cm;
- letok – 5 cm.
Titmouse (suitable for tits, sparrows, pied flycatchers)
Dimensions:
- height – 30 cm;
- width – 10 cm;
- length – 12 cm;
- letok – 3.5 cm.
Wagtailman
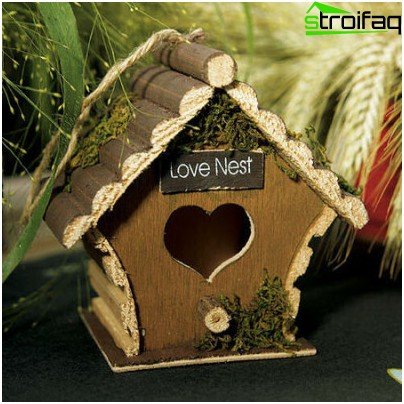
Such a bird house will decorate your garden
Dimensions:
- height – 15cm;
- width – 15 cm;
- length – 30 cm;
- trapik in front of the letok – 10 cm;
- letok – 3.5 cm.
Duplyanka (maximum natural housing for birds); Made from a tree trunk by extracting the core. On one of the sides a notch is cut. For the roof and bottom, log cuts 40-50 mm thick are used..
Half duply (Ideal for birds that prefer natural wood voids for life).
The structure resembles a titmouse with a large notch of rectangular shape. Its dimensions:
- width of the whole house;
- half height.
How to build a birdhouse with your own hands
Materials and tools
Important! The starling house is made of natural wood. For the manufacture of birdhouse conifers are not used. In addition, the inner surfaces are left untreated. This allows the birds to comfortably move around the house, clinging to the walls..
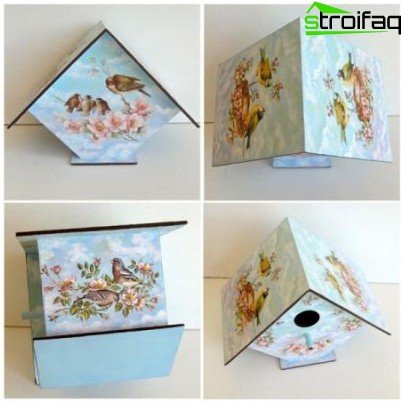
The gable roof of the starling home often leaks
In order to make a birdhouse with your own hands, the following materials will be required:
- boards
You can use pre-dried untreated birch or alder wood. Note! Compressed wood, namely chipboard, fiberboard, etc. are not used in the manufacture of birdhouses for birds because of toxicity and short life.
- nails or screws;
- odorless water-based outdoor paint.
The most attractive colors for birds are gray and red. Green painted houses are not popular with birds.
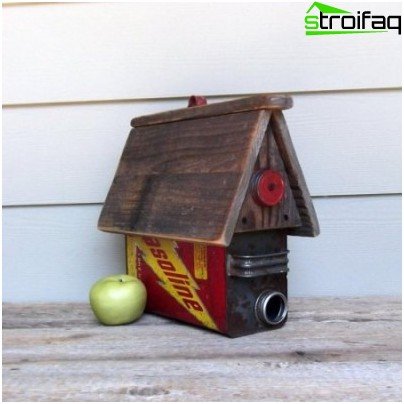
Feathered house made of metal can be placed near the garage or car service
Tools required:
- pencil, ruler and compass;
- a hammer;
- wood hacksaw;
- drill with a drill;
- chisel;
- wood glue;
- paint brush;
- wire or rope.
Main stages
At the first stage, wooden structural elements are prepared. Before starting work, carefully study the drawing of the birdhouse. To mark the walls, roof, bottom and perch on the boards, use a simple pencil.
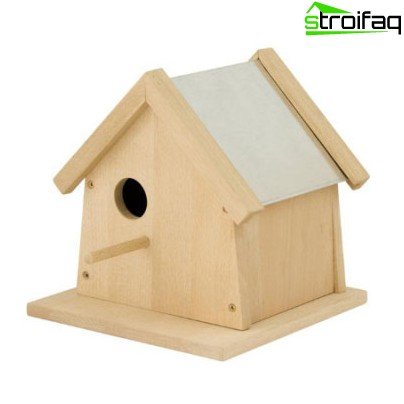
Even a novice can make a home for birds
The optimal angle of inclination of the roof is created due to the difference in the heights of the front and rear walls (4 cm) and bevels on the upper cut of the side walls. The roof should consist of two parts of different sizes. The first part is similar to the bottom of a birdhouse, a canopy is made from the second. It is worth noting that the most successful option for arranging a house for birds is considered to be a roof that is tilted forward. Such a slope prevents the accumulation of rainwater and the leakage of the roof.
At the second stage, the details are cut. For paired elements to have the same dimensions, they must be done in a clear sequence. The round entrance to the house is easily drilled with a drill (large diameter drill). If desired, it can be done in the “grandfather” way. For this you need a hammer and a chisel.
The third stage is the assembly of the birdhouse. First of all, the side walls and the facade are glued. After the glue dries, the parts must be fixed with nails or self-tapping screws. Last installed back wall. There should be no gaps between the elements of the dwelling for birds. The removable roof will greatly facilitate the care of the house in the offseason.
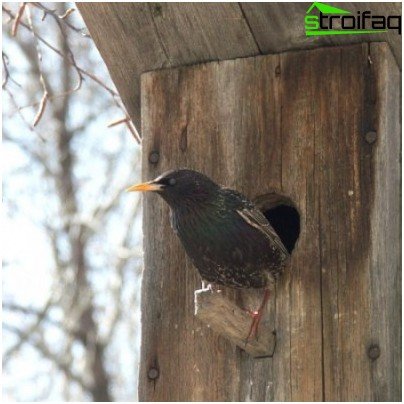
The façade of the birdhouse should be east or southeast
At the final fourth stage, a bird’s apartment is placed on a tree or on the roof of a residential building at an altitude of 3-5 m. Birdhouse is nailed or fastened with wire, rope. The façade of the birdhouse should be east or southeast.
Decor for Dummies
Housing for birds should not only be convenient and functional. It can become a worthy element of landscape design, a real decoration of your personal plot.
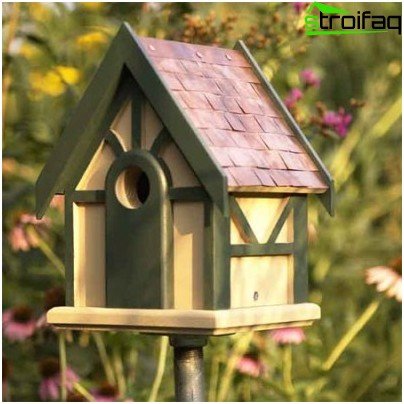
The decorative house is a beautiful but impractical structure
Decorate the house with decorative details. Original balconies and fences will make it look like a fashionable mansion or palace.
Even the simplest model will look much more interesting if you beat its color scheme. The shape and size of the birdhouse, which performs the sole function of decoration, depends only on your wishes and imagination.
The original house can be made from a regular garden pot, juice boxes. Birdhouses of different colors and designs look very attractive in reality and in the photo.
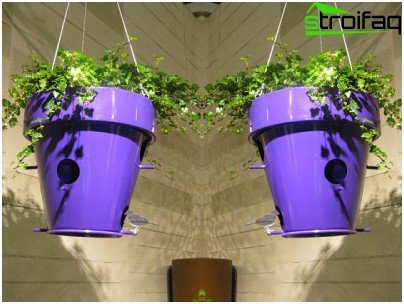
A garden flowerpot will help to decorate your site without flowers
Clay house for birds
Materials:
- a pot with a diameter of 20 cm;
- plywood sheet (size 25×25 cm, thickness – 7 mm);
- bolt with ring, 2 flat washers;
- chain.
Instruments:
- hacksaw;
- a drill with a round nozzle for working with glass;
- thin and semicircular files.
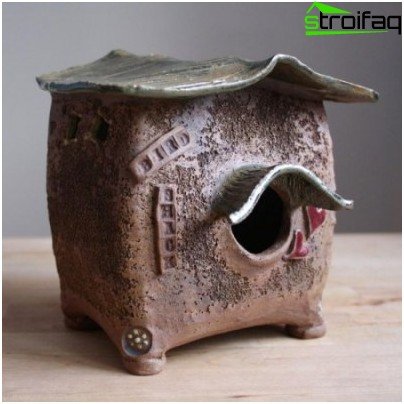
Birdhouse can be made from almost any material.
Manufacture:
- On the clay pot, mark the place for the taphole. Carefully drill the inlet with a drill with a special nozzle for cutting glass surfaces..
- Sand the edges with files (first semicircular, and then thin). Sweep the clay dust, wipe the pot with a damp cloth or rinse it with water.
- Saw the bottom out of plywood for the birdhouse. In size, it should be more than the diameter of the pot not less than 7 mm.
- Secure the bolt with the ring to the water drain hole with 2 washers. Glue the bottom to the flowerpot with liquid nails or “super-glue”.
- Hang the finished structure on a chain.
Now you know everything about how to make a birdhouse. Use the knowledge to attract birds to your site. Give them comfortable conditions, and they will protect your crop from pests, will cheer you up with their singing. In addition, you will have a unique opportunity to observe the first flight from the nest of young chicks.


