Many of us want the world around us to be vibrant and rich, interesting and beautiful. That is why we surround ourselves with things that give us not only comfort, but also aesthetic pleasure. As a rule, their purchase is associated with a trip to shops, shopping centers or markets. However, you can create beauty with your own hands. There are so many solutions. It can be all kinds of decorative elements, completely different in their complexity and creativity. The decoupage of flower pots can be considered the easiest and most affordable way to decorate a residential or office space..
Content
- Decoupage – a method of decorating surfaces
- Decoupage on plastic
- Decoupage on clay
- Decoupage corrugated pots
- Other materials
Decoupage – a method of decorating surfaces
The word decoupage in the exact translation from French means “cut”. And the decoupage technique involves decorating any surface with colorful pictures, interesting motifs cut out of paper.
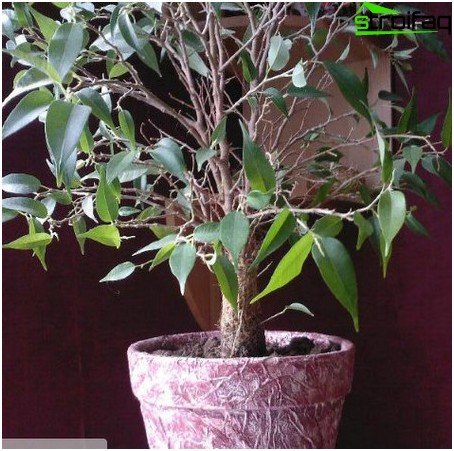
Decoupage will give a new life to old pots
White or brown containers for indoor plants, as a rule, look quite unattractive, and all kinds of decorated options are quite expensive. Alternatively, you can decorate ordinary pots yourself, making them original and incredibly sophisticated..
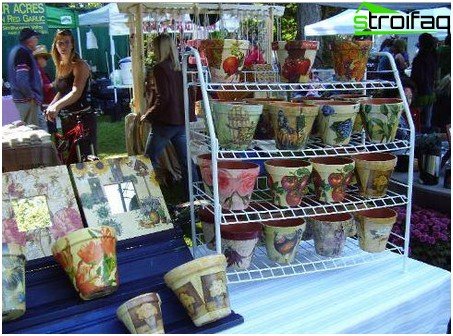
Abroad, handwork is very much appreciated.
The decoupage technique itself does not cause unnecessary difficulties, especially for those who have repeatedly created new designs for frames, various bottles or plates. The decoupage of a flower pot with napkins looks great both on plastic and on clay or ceramics. The technique will be similar for all types of containers, but there are some peculiarities..
Decoupage on plastic
On this material it will be very easy to make your exquisite design.
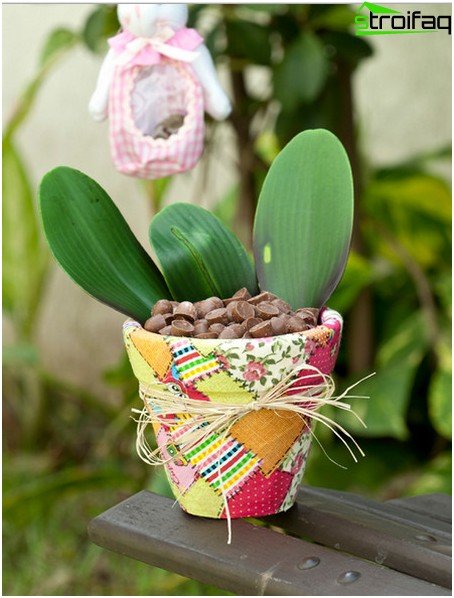
The patchwork technique is often used for work.
For work, you need the following materials:
- scissors;
- multilayer napkins with an already applied pattern;
- clear acrylic varnish;
- wide soft brush;
- acrylic paints.
Initially, the pot should be painted in a different color, because a nondescript brown background looks absolutely faceless. You can choose absolutely any shade of acrylic paint. And it is advisable to immediately connect your imagination. For example, the rim and bottom can be painted in one color, and the main part of the pot in another. Once the paint has dried well, decoupage can be done directly..
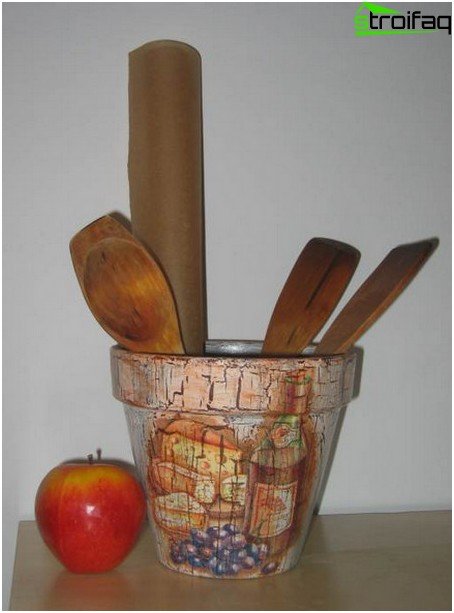
Step-by-step instructions will help a beginner needlewoman
Carefully separate the napkins – separate the lower layers from the upper. For further work, only the top layer is required. After that, it is necessary to cut out the patterns that will be used to decorate the pots. The obtained elements are gradually, one after the other, pressed against the wall of the container and fixed in the desired position with a brush dipped in varnish. The applied liquid reliably fixes parts of napkins on the surface.
As soon as the decoupage elements dry, the entire pot is opened again with varnish. This technique allows you to reliably protect patterns from water and any damage..
As an option, you can complement the composition with rhinestones, beads, thin shiny threads, sequins. Universal glue will help to attach them.
Decoupage on clay
If the interior has clay pots that look as unattractive as plastic ones, they can be changed and decorated to your taste. For work you will need:
- acrylic paints;
- construction varnish;
- colorful napkins;
- PVA glue;
- scissors;
- napkins;
- tassel.
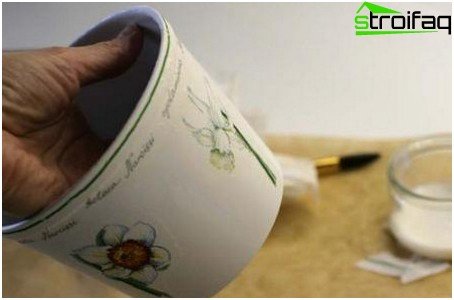
Exciting creative process can attract children
Stages are built on the same principle as in working with a plastic surface. Initially, a pattern is cut out of napkins, elements of a future composition. After changing the background, its complete drying, you can begin to attach parts of the napkin. To do this, the paper surface is covered with a thin layer of glue. On thin or too large and voluminous parts glue must be applied gradually to avoid soaking or tearing.
The napkin must be very carefully applied to the surface of the container for indoor plants. The glue needs to dry well, only then can it securely attach all the elements. The final touch is the application of a layer of varnish, which will protect the drawing and paint from wear. We can assume that the decoupage of flower pots is ready. After this, the containers can be filled with soil and plants..
Decoupage corrugated pots
Very often flower pots are made not only with smooth smooth walls. They can also be corrugated. If the plans for a lesson on decoupage technique, then the logical question will be: is it possible to work on such a surface? Is it possible to qualitatively change the design of such a pot? It turns out that this is quite real.
So, the following materials will be required:
- the pot itself (pots);
- 3-D gel;
- corrugated paper (you need to choose three close colors);
- acrylic paint;
- art soil;
- glue;
- metallic paint;
- printout of a large picture;
- acrylic lacquer.
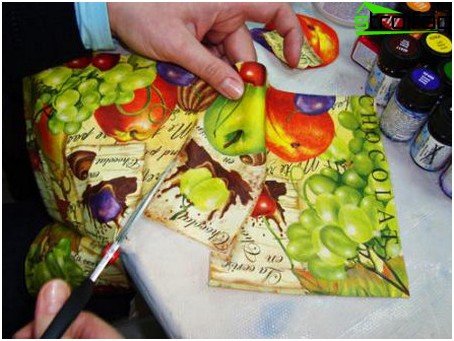
The main thing is to carefully cut and paste parts of the new pattern
- Step 1. The plastic pot is primed. For this purpose, artistic soil is used. As an alternative, you can take primer for plastic or primer-enamel in the form of a spray.
- Step 2. While the base dries, you need to tear bright corrugated paper into small pieces.
- Step 3. Each piece is opened with glue and attached in random order to the surface of the pot. Elements can “find” a little on each other. If the glue is too thick, dilute it with a little water..
- Step 4. The pasted pots should dry well. You can use a hairdryer to speed up the process..
- Step 5. Using a thin brush, the borders of the mosaic pieces are drawn with metallic paint. Lines can be completely different in thickness. A variety of contours will only give special uniqueness to the product, its general appearance.
- Step 6. While the paint is drying, a printout must be prepared for use. It could even be a photograph. The main thing is that the printout is done on high-quality glossy paper.
- Step 7. The image is coated with clear acrylic varnish. Two layers should be applied. They should be perpendicular to each other. If this is the first attempt to work with prints, then 3-4 layers of varnish should be applied to the surface. In this case, the paper will be much thicker, which means that it will be much easier to work with it..
- Step 8. The printout motif is cut out. It should be soaked for 20-30 minutes in warm water. If whitish streaks appear during soaking, you should not worry, as they will disappear during drying.
- Step 9. The next step is the removal of the top varnish layer. To make it convenient, you can use a needle. With the end you need to pick up the varnish layer, and then gently pull it off with your fingers.
- Step 10. Glue covers the place on the pot where the picture will be fixed. A varnish printout is applied to it. The pattern must be smoothed out well so that no air bubbles remain under it..
- Step 11. The glued motif is thoroughly dried. On top of it should be applied the same lines as on the entire surface of the pot, so as not to violate the general concept.
- Step 12. The flower pot is left to dry..
If the kit has a stand, then it is painted with acrylic paints that would be in harmony with the general background of the pot.
Design work can then be considered completed..
Other materials
In general, in order to make decoupage of pots, it is enough to stock up with any printing products, fabrics, light, delicate lace.
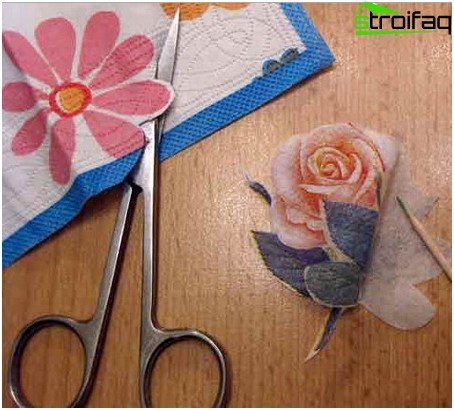
Decoupage by napkins looks original
So, for example, you can use beige and white eggshells, which are pre-mixed or painted in any color. Before starting work, the shell should be washed in fairly warm water, degreased (this may be a solution of baking soda) and dried well. The surface of the pot is opened with PVA glue, then shell particles are laid out on it with a convex surface to the top. So that they attach well, they need to be covered with a napkin and pressed down a little. After this, the shell is covered with mascara. When it penetrates deeply into all cracks, its excess is removed. The result is an interesting effect – the paint remains in the cracks, and the original color of the shell remains unchanged. To fix the result, the pot is opened with a layer of varnish.
If in terms of design decisions there are any doubts, possible options can be viewed in the decoupage of flower pots in the photo you can on the Internet. Beauty is never superfluous.


