How to glue wallpaper
Wallpaper is perhaps the most common decoration material used for wall decoration. Wallpaper found its application in the decoration of ceilings. The richness of colors and textures provides freedom of choice for the future appearance of the room. Moreover, to radically change the space with the help of wallpaper is not at all difficult. It is only necessary to take into account several rules that simplify the process of gluing wallpaper paintings and avoid annoying mistakes. It’s better to learn more about how to glue the wallpaper correctly before starting work, so as not to waste your energy on “inventing a bicycle”.
Content
- Materials and their calculation
- Essential tool
- Wallpaper Bonding Rules: Progress
- Features of gluing wallpaper with a pattern
- How to stick wallpaper in the corners
Materials and their calculation
In the hardware store, the calculation of the required number of rolls will be done by the sales consultants. To do this, they need to inform the dimensions of the room (length, width, ceiling height), as well as the number of doors and windows. Using the calculator, the total wall area is calculated and divided by the area of the wallpaper in the roll. The resulting number is rounded up. If the buyer chooses a wallpaper with a pattern that must be taken into account when cutting the paintings, then the consumption increases by about 20%.
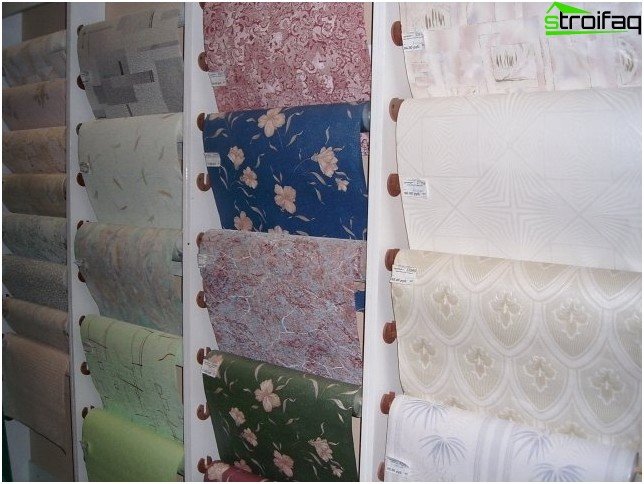
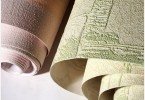
Wallpaper selection
Another required material required in the work is wallpaper glue. It is selected depending on the selected type of wallpaper. On the packaging of the glue there is information about its proper preparation. The maximum number of rolls that can be glued using one package is also indicated. Based on this, the necessary number of packages of glue is acquired. If you intend to primer the walls with the same glue, then you need to buy another package.
To decorate the interior of the room, manufacturers produce borders of different widths that accentuate the main color of the wallpaper. Borders can be glued along the ceiling, doors, windows. Very often with the help of borders glued in horizontal or vertical direction, visually divide the wall into parts.
Essential tool
- a bucket or other container for diluting glue;
- brush (roller on the bar) for applying glue to the surface of walls and wallpaper;
- scissors (stationery knife) for cutting wallpaper on the canvas of the desired length;
- a simple pencil for marking;
- plumb line;
- putty knife;
- a brush or rubber roller for smoothing glued panels;
- roulette.
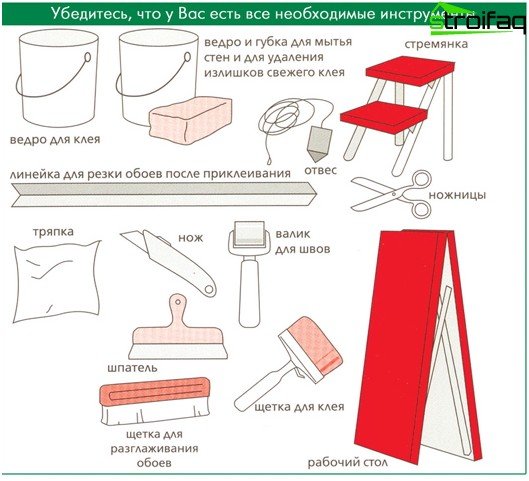
Wallpaper Tools
Wallpaper Bonding Rules: Progress
1. Work begins with the preparation of the premises. It is advisable to remove the furniture or move it away from the walls and cover it with dust from the film.
2. The walls are cleaned with a spatula from old wallpaper. If paper scraps are difficult to move away from the wall surface, they are moistened with water. After a few minutes, the soaked paper is easily scraped off with a spatula from the wall. Painted walls are sanded with an emery grater. Using putty, cracks, holes from dowels and other damage to the walls are sealed. If possible, carry out alignment of angles.
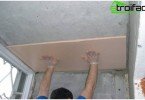
3. The ceiling is painted or whitewashed, after which it is possible to proceed to wall decoration.
4. Measure the height of the wall and cut the canvas from the roll according to this measure, adding a small margin. Some apply wallpaper to the wall and measure in place, making a mark with a pencil. In this case, an assistant is needed, because one person can’t hold the wallpaper and measure it. At the same time, beginners, as a rule, do not know where to start gluing wallpapers. If the wallpaper will be overlapped, they always start from the window. This helps visually hide the resulting seams. If the wallpaper is glued butt, then you can start at least from where.
5. The cut off cloth is smeared with wallpaper glue, which is bred immediately before work, taking into account the time of its preparation. All modern adhesive mixtures are usually prepared within 15-30 minutes. When applying glue, great attention is paid to the edges so that they do not remain dry.
6. Next, the canvas is left for several minutes for impregnation, and at this time the wall is quickly smeared with glue to the width of the wallpaper strip. You can not hesitate, because too long wetting of the wallpaper is fraught with their complete deoxidation. It will be impossible to stick such a sheet.
7. The lower edge of the plastered sheet is bent for ease of working with it, otherwise the edge will drag along the floor.
8. The canvas is applied on top of the wall using a chair or stepladder, with the side edge being equal to the plumb line. You can draw a vertical line along the wall in advance and stick the first panel along it.
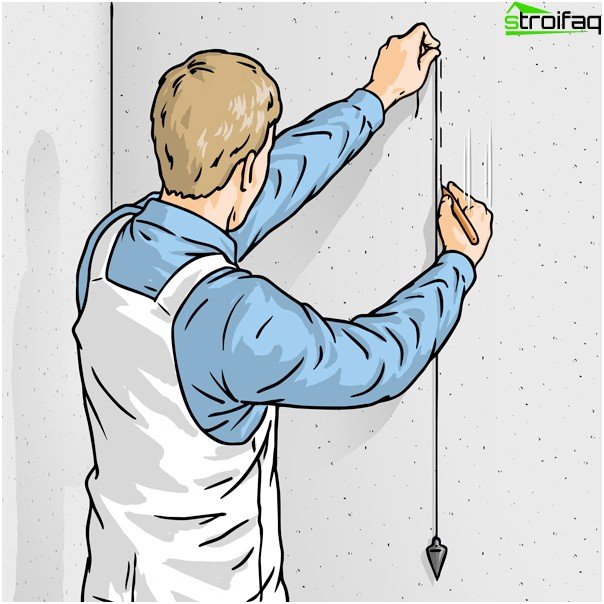
Using Plumb For Vertical
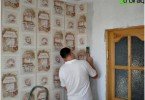
9. Using a wide brush or rubber roller, the canvas is smoothed from top to bottom by diagonal movements. This will allow you to firmly press the wallpaper over the entire surface of the wall, remove air bubbles and excess glue. Glue is removed with a damp cloth or sponge..
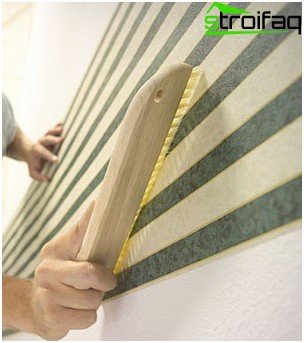
Smoothing the wallpaper with a brush will provide a firm hold, eliminate excess glue and air bubbles
10. Excess wallpaper is cut off along the floor and along the perimeter of the ceiling. The remaining sheets are glued in the same way, the alignment is carried out on a previously pasted sheet.
Features of gluing wallpaper with a pattern
When choosing a wallpaper with a pattern that needs to be selected, you need to carefully consider the correct cutting of the panels.
You can carry out the selection operation in two ways:
- After gluing the first sheet, combine the drawing when measuring the second canvas directly on the wall, making marks on the wallpaper above and below. According to these marks, the wallpaper is bent and cut. This method requires an assistant.
- You can cut several paintings of wallpaper according to the taken measurements of the wall, combining the pattern on the floor. The canvas is cut, laid out on the floor face up. A roll rolls nearby. The canvas is shifted by the required distance to the combination of all elements of the pattern. After which cuts are made, along which the cutting is carried out.
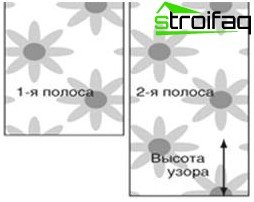
How to glue wallpaper with a pattern
In order not to disturb the pattern, the wallpaper is glued butt-joint according to the algorithm described above.
How to stick wallpaper in the corners
Corners, especially if they are not perfectly straight, give a lot of trouble to beginners. Professionals have learned to cope with any angle. What is their secret? Everything ingenious, as always, is simple. In the corner you do not have to glue a whole sheet of wallpaper. Experienced craftsmen in the corner make a joint of two canvases, and so that it is perfectly even, the following technique is used. Two canvases are glued with an overlap equal to five centimeters. Then, with a sharp clerical knife, an incision is made at once of two canvases. The cut off parts are removed, the wall is once again smeared with glue and the paintings that had to be bent are re-glued. The joint obtained by this technology is completely invisible. So wallpaper is glued in the inner corners. What to do with the external corners that you have to deal with during the decoration of window and door slopes?
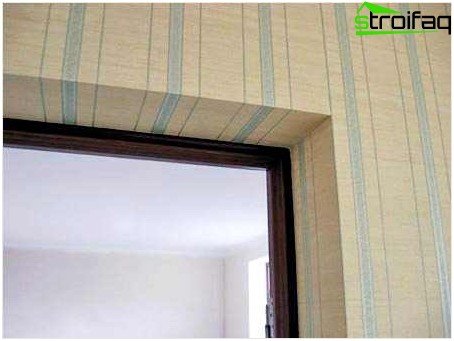
Wallpapering of external corners
When we glue the wallpaper with our own hands on the external smooth angles, then we just try to cut the canvas so as to wrap them. But this method is not always applicable. Therefore, it is necessary to glue two paintings, which are located on the sides of the corner, while the rib remains visible. Sometimes it is pre-painted in the color of the wallpaper or simply covered with a plastic finishing corner, which is glued to the mounting adhesive.
Optimal conditions for wallpapering
To avoid the appearance of bubbles and wrinkles on paper wallpaper during drying, try to adhere to the following recommendations.
- Work is carried out at a room temperature equal to 23-25 degrees Celsius.
- Wallpapered walls must be protected from drafts until they dry completely..
- Try to exclude direct sunlight from the pasted wallpaper..
In this regard, wallpapers on a non-woven basis are completely unpretentious. They are more expensive than ordinary paper wallpapers, but working with them is a pleasure. After all, when sticking such wallpaper, you need to apply glue only on the wall. Dry cloth roller rolls easily to the wall surface. Work is twice as fast if you use wide meter rolls.
Special troubles give beginners a variety of obstacles in the form of pipes, sockets, switches and other elements attached to the walls.
Now, armed with knowledge, you can safely proceed to the repair work. After all, after everything you read and viewed, it became clear how to glue the wallpaper quickly and correctly. When you know the exact procedure, the result is always good. The joy of creativity and the new type of rooms will fill the hearts of family members, because everything will be done with love for your home.


