Flower beds made of stone
Natural stones are the most durable and durable building material. It is not for nothing that the real owners from time immemorial built fences and houses from them, the Chinese built their well-known wall, and the Egyptians built pyramids. Nowadays, this natural material is also used in landscape design. Especially often amateur gardeners make flower beds of stone. And any rocks are used: river pebbles, and cobblestones, and ordinary bricks. It all depends on the style of the plot on which the flower garden will be built..
Content
- The simplicity and beauty of stone beds
- Amazing spiral flowerbed
- Alpine slide or rockery
Stone flower beds are easy and simple to create. But you still have to consider important points. In order for the flowerbed to stand for a long time and please the eye, it is necessary to choose the right stones and correctly lay them.
The simplicity and beauty of stone beds
The easiest way to create such a flowerbed is to cover it with stones around the perimeter. Despite the elementary nature of the process, a very original flower garden is obtained. And it doesn’t matter when you spread this border: before or after planting flowers. The main thing is to carefully push the boulders into the ground so that they are fixed for a long time in a certain place. To do this, you can pre-fluff the soil with a hoe or dig a shovel, depending on the size of the stones.
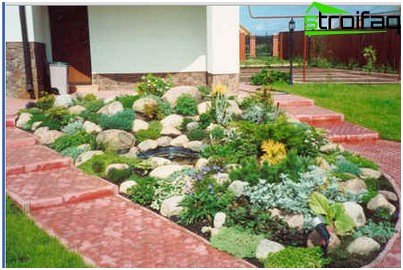
It is easy and simple to create stone flower beds, but you will still have to take into account important points
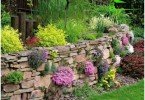
The second method is considered more reliable and solid – this is the laying of stones in several levels. Creating such a multi-level flower bed takes place in several stages, depending on the desired height. Here it is best to use slate or another flat stone.
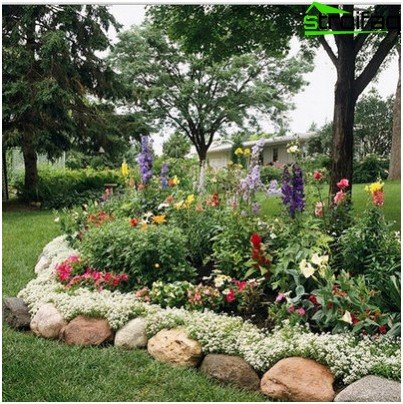
The easiest way to create such a flowerbed is to cover it with stones around the perimeter.
So, first of all, you need to choose a place for the flower garden and mark its borders with pegs. Around the peg flour or white sand is poured contour. And on it a moat is already being dug, as for the foundation, with a depth of 20-25 cm and a width of 30-35 cm. The largest stones are laid in the recess, as densely as possible to each other. They should be carefully tamped into the ground, because, in fact, they will be the basis of the entire structure. The second and third row of cobblestones must be carefully joined, because the lower layers lie down without the use of cement mortar. After laying the fourth row, the construction thread is pulled onto the pegs to mark the top of the wall and leveled with a level. Before you put the last row of thread must be removed. When the wall height reaches 10-15 cm above ground level, a thick cement mortar is prepared and the following rows of slate are laid on it. Apply the solution very carefully so that it does not fall on the front of the masonry. Due to this, the flowerbed will seem more harmonious and natural. Periodically, it is necessary to check the resulting wall for verticality using a rack level, approximately every three rows. If something goes wrong, you can have time to redo the masonry before the cement has time to harden.
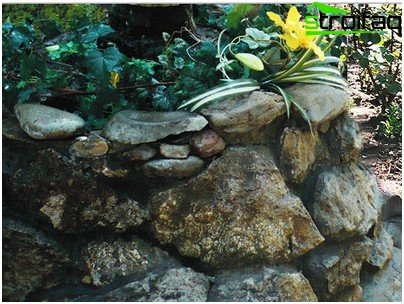
Stacking stones in several levels is considered a more solid and reliable way.
In the process of erecting a flower bed, even cobblestones should be put aside so that they complete the work. And so that the wall turned out to be generally beautiful, you can use a rubber mallet and align the ranks with it. The joints between the stones of the last row are completely filled with the solution. If you build the flower beds of cameos with your own hands for the first time, then you can play it safe: make an adaptation in the likeness of a culinary syringe. It is necessary to collect the cement mixture in a dense plastic bag, cut off the corner and squeeze the solution directly into the right place with a thin layer. Then smooth with a trowel or spatula. So you are guaranteed to do everything as accurately as possible. After the end of the masonry, it is necessary to allow the solution to harden, and then treat the finished flowerbed with sealant to prevent cracking of cement at the joints. Then the small business remains – to fill the prepared soil and plant flowers.
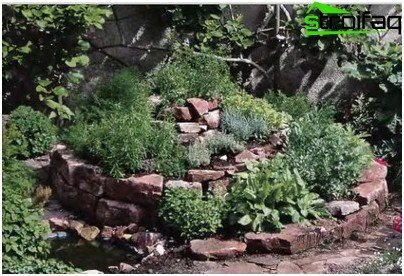
Flower bed “snail” is most often used for growing herbs
Amazing spiral flowerbed
A spiral flower bed is also called a “snail.” On a personal plot, strawberries, strawberries or spicy herbs are often planted in it. “Snail” is also suitable for flowers, moreover, it looks like an oasis in the desert. In the spiral flowerbed, you can create different types of soil and microclimate. Its upper part will be closer to the sun’s rays, so heat-loving plants should grow there. And below the ground will be more humid, respectively, and plants need to be planted moisture-loving. When designing a flowerbed-spiral, it is very important to correctly determine its diameter. It is better to stop at 1.5-2 meters to get to any part of the flower garden without any problems. Having decided on the place for the proposed structure, remove the top of the soil, approximately 20 cm. Take a rope half the radius of the flowerbed, tie to both ends along the peg. This one will fulfill the function of a compass. Insert one peg into the center of the future oasis, define the boundaries of the building and mark them with stones. It is advisable to line the removed soil layer with a non-woven geotextile, which will restrain the germination of weeds, and at the same time pass water. Also, the canvas performs reinforcing and separating functions. An alternative to non-woven fabric can be ordinary cardboard or a layer of straw. The latter will decompose and thereby can provide a breeding ground for vegetation.
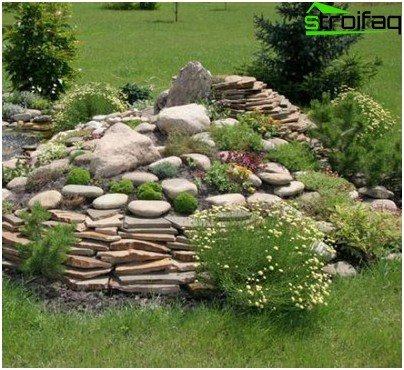
Alpine slide in the garden looks like an “island” of mountain nature
After laying the separating material, the outer borders are fenced with cobblestones, the first tier is covered with fertile soil and densely compacted. The upper turns of the “snail” are laid in the same way. Then you can plant plants. Most of them have the ability to grow, so you need to observe the interval or in time to pinch flowers in order to prevent self-seeding.
Alpine slide or rockery
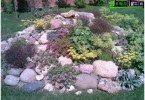
The most beautiful “island” of mountain nature in the garden is an alpine hill. Such a flower garden can be built in any size, the main thing is to place it on the sunniest spot of the site. And another thing: this type of flowerbed perfectly masks unevenness in the landscape, so there is no need to pick up an even piece of land for it. Plants for the hill need to be selected undersized and those whose root system is not very developed. Before you make a flower bed of stones of this shape, you need to take care of drainage. The fact is that the alpine hill has a very humid environment and removal of excess moisture is simply necessary. To do this, you need to dig a shallow foundation pit, about half a meter, lay pebbles there in layers of different sizes: crushed stone, gravel, broken bricks. Then lay with geotextiles and cover with sand. Only after this can you begin to build a slide. The largest stones are installed at the base of the alpine flower bed, and small fragments are placed on top of them. When laying down the hill, do not forget to leave room for the plants. Then you will need to fill the soil into these holes and plant flowers in it. Photos will help to revive flowerbeds made of stone, from which you can get the idea of the right selection of plants.
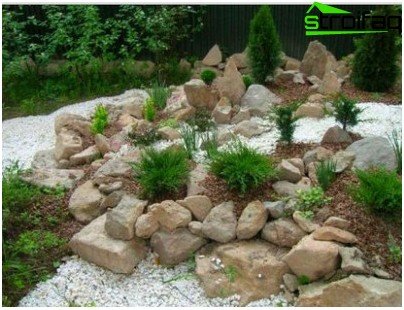
To create a rockery, stones of the same origin are used.
A rockery can also be a beautiful “island” in the garden. It is built on the same principle as the alpine hill. The difference is that the rockery is built from stones of the same origin and, in no case, from decorative bricks. It should look like a piece of wild mountainous terrain. Very often, this type of flowerbed is decorated with a babbling brook or a mini-waterfall. It is very important to approach the construction of any of the above stone flower beds with imagination and a desire to create. Then your masterpieces will bring you pleasure, delight loved ones and neighbors.


