How to putty slopes
Even the most beautiful window unit can lose its attractiveness surrounded by curves and sloppy slopes. And the room as a whole becomes some kind of untidy. Just like crooked corners, unsuccessful slopes distort the geometry of the room and greatly spoil the overall impression of the repair. So, before you putty the slopes several times, think to whom to entrust this responsible matter. If you decide to do it yourself, this instruction will help you avoid mistakes and “alterations”.
Content
- Preparing for puttying slopes
- Competent progress is an excellent result
Preparing for puttying slopes
Necessary tools
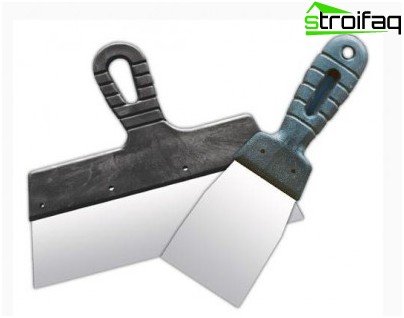
- Several spatulas of different widths.

Different size spatulas are necessary for rough and fine processing of puttying slopes.
- Drill head mixer or hand mixer.
- Bucket or basin for putty.
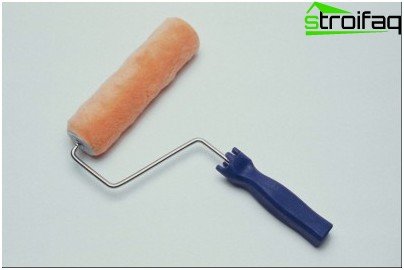
- Paint tray and roller.

Roller “multicolor” will ensure uniform distribution of paint on the surface of the slope
- Priming brush.
- Roulette.
Expendable materials
- Finishing putty.
- Starting putty.
- Masking tape.
- Water-based paint of the desired color.
- Perforated corner.
- Sanding grater.
- Sandpaper.
Competent progress is an excellent result
Before starting work, it is necessary to protect the window frame and the casement from contamination.
To do this, it is best to use masking tape. You just need to glue it adjacent to the slopes of the window.
Important! If the windowsill or any interior details around the window are made of MDF, do not rush to paste them with masking tape. The fact is that unstable paper coating of MDF can be damaged when the tape is removed. Try to just cover the panels with paper.
To improve adhesion, it is necessary to treat the surface with a high penetrating primer. Most often, such primers also include antifungal agents that protect the surface from mold. Wait for the primer to dry completely, the time of which is indicated on the package.
Now, using a tape measure, you need to measure the height and width of the window, and then cut off pieces of the perforated corner of the required length.
Important! To work with slopes it is better to purchase a universal “start-finish” putty
At the angle between the wall and the slope, apply a small layer of putty and glue the corner. Check its location level.

Putting across the slope
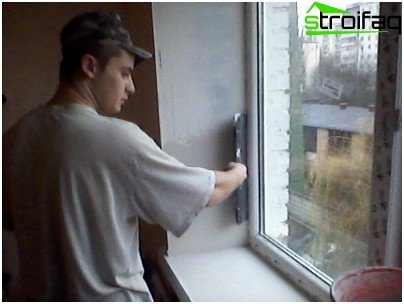
The first layer of putty is applied with a wide enough spatula, in our case a tool of the same width as a slope or a little less is suitable. With a narrow spatula we take the putty from the container and put it on the working tool. Then we smoothly move at an angle of about 30 degrees with a spatula along the surface – first along the slope, and after a slight hardening of the putty – across. The result should be a flat surface.
Important! After the first stage of putty is completed, be sure to wait until it completely dries. Otherwise, cracks may form during operation..
Apply a second, very thin, putty coat. It is not needed to level the slope, but to give it smoothness. And again waiting for drying.
Now with the help of a grater and a grinding skin we remove all sag and scratches.
You can start painting. You probably think that this is the easiest stage of work, but it also has several secrets. If you plan to paint the slopes in any color other than white, first go over it with white paint and let it dry. This will help make the slope color more uniform. You need to work with a narrow fur roller carefully stretching the paint on the surface.
Your slopes are ready and, with proper care, will last you for many years..


