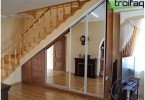
Do-it-yourself drywall cabinet
Each owner of his home is trying to create a comfortable atmosphere in the apartment, resorting to various materials and technologies. Trying to combine workability, environmental friendliness and design imagination. Drywall cabinets can help in solving such a difficult task. Made of natural material, such designs can easily fit into any environment, creating comfort and harmoniously combining functionality and beauty.
Content
- Modern environmentally friendly material
- The process of making a drywall cabinet
- The choice of place and material for the manufacture of the cabinet
- Marking the future design
- Cabinet frame construction
- Gypsum plasterboard casing
- Primer before finish
Modern environmentally friendly material
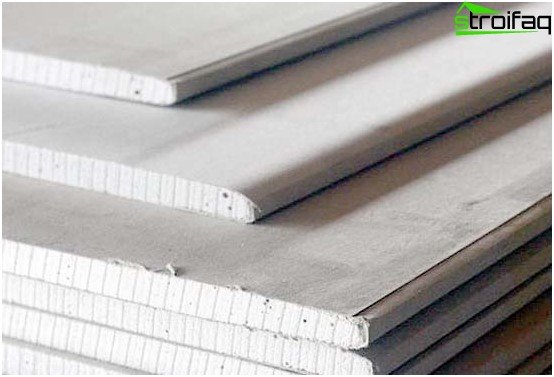
Drywall is a modern environmentally friendly material with technical and technological advantages.
Without resorting to the help of a professional, anyone who wants to make an effort can make a drywall cabinet with their own hands. Drywall is a modern material, which everyone can work with. One of the constituents of gypsum plasterboard (gypsum plasterboard) is gypsum. This is an environmentally friendly material that does not contain harmful elements and has an acidity close to human skin.
Plaster products are able to pass air, thereby creating a favorable atmosphere in the room. In addition, gypsum is not radioactive, thermoneutral and has high heat and sound insulation. For the strength of the material meets the cardboard shell, optimizing the technical characteristics of the plate. Due to the elasticity of drywall, it can be used in the manufacture of various products of any shape.
The process of making a drywall cabinet
Next, we describe how to make a drywall cabinet in stages.
The choice of place and material for the manufacture of the cabinet
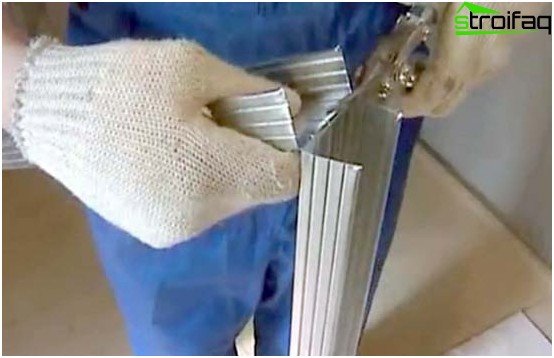
The metal profile is easy to cut and fasten
The first stage is determining the location of the future cabinet. In order for it to fit into the designated place, it is necessary to draw up a drawing of the future design, taking into account all the smallest details. How many and what kind of shelves there will be, the distance from the first shelf to the bar and more. At the location of the hinged items of the product should be placed jumpers. According to the drawing, the frame of the future product is made. It can be made of wooden blocks of size 60 by 40 or metal profiles.
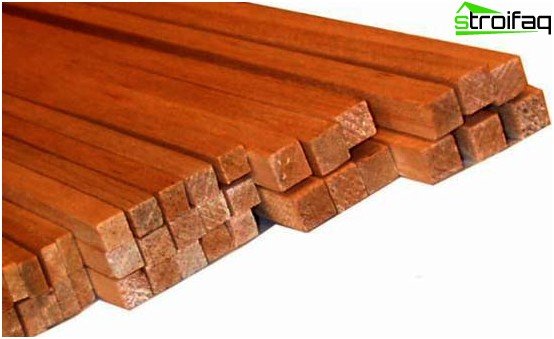
The bars for the frame must be of high quality and dry
In the first option, the choice of wood is approached very carefully. It must be of high quality and dry. Otherwise, the wooden components may become deformed over time, “pulling” the entire structure along with them. Metal profiles are easier to mount and they are not deformed. The only condition: the load on the cabinet design must be taken into account. The wooden base supports more weight. Therefore, decide which items will fill the shelves, and based on this, choose the material for the frame. The most acceptable drywall thickness is approximately 12 mm.
Marking the future design
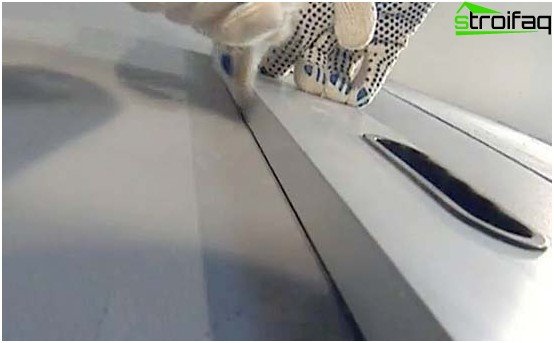
Dimensions of the future design are transferred to the wall
Before constructing a built-in cabinet from drywall, transfer the dimensions of the future structure to the wall, ceiling and floor. Here it is necessary to observe accuracy down to a millimeter, so that when installing drywall there are no inconsistencies. For accuracy of drawing horizontal marks use level, vertical – plumb line.
To one of the walls or to two at once (if the cabinet is built in the corner of the room), the cabinet will be fastened closely. This will be the pillar of the future design. The surface should be leveled and cleaned. In places of laying the profile on the floor and walls, a special shock-absorbing tape is attached. This is necessary so that any vibrations from the floor and walls are not transmitted to structural elements.
Cabinet frame construction
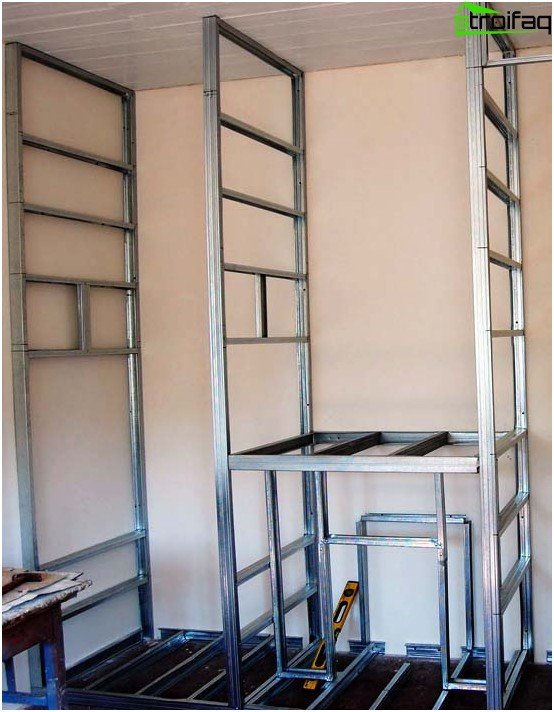
Drywall cabinet frame
Further along the planned lines with the help of dowels and screws, guides from the profile are attached. First, on the wall, then on the floor and ceiling, profiles are attached that will play the role of guides for vertical battens. Rack profiles are inserted into them alternately. The joints of the crossbars are fixed with metal plates. This will give greater reliability to the product. Begin assembly of the structure from the wall to the corners. Fasteners are made with screws or screws.
The frame device includes fixing the main engineering devices: shelves, drawers, hinges and more. In places involving a large load, the frame is reinforced with transverse rails. Since drywall is not designed for heavy loads, some details of the future cabinet are made of shockproof glass, wood boards or metal. Such decorative elements not only decorate the product, but also increase the functionality of the design.
Gypsum plasterboard casing
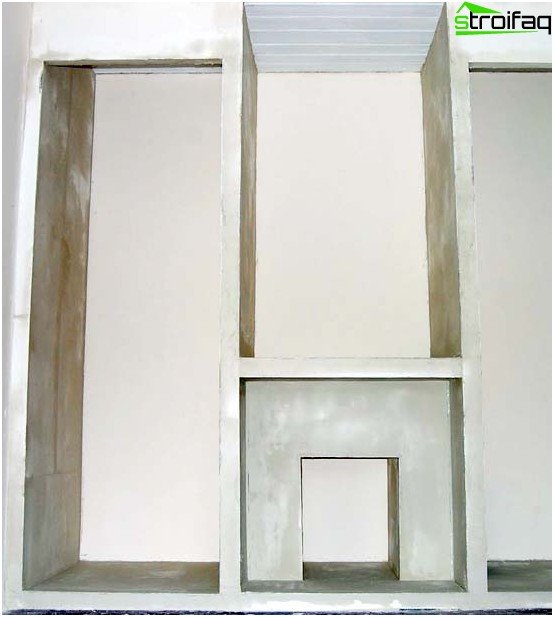
The metal base is sheathed with drywall
After the installation of the frame is completed, they begin to plaster the base with the plasterboard. As a tool for cutting material using a carpentry knife, hacksaw or jigsaw. When choosing the size of GCR, consider the dimensions of the cabinet so that there is less waste. The thickness of the sheets depends on the expected load. Smooth edges can be obtained by treating the sheets with an edge planer..
To measure the length of the sheet, it is very convenient to use a trench. Then we get a straight line along which a cut is made with a knife at the beginning and end of the circumcision. A sheet of drywall lies on the edge of the table so that the cutting line and the excess end protrude beyond the edge. Holding the edge on the table, tap lightly with your palm on the protruding end. In this case, the sheet should break along the intended line. Only paper below the drywall will remain intact, which can easily be cut with a knife.
Drywall joints are located in the middle of the vertical stoic profile. After plastering, they will be almost invisible. GKL fastening on profiles is carried out with a powerful drill very carefully, with a pitch of 250 mm, so as not to damage brittle material. To make the cabinet corners perfectly even and protect them from destruction, use reinforcing paper, a metal corner or a plaster mesh. In the manufacture of dimensional furniture, it is desirable to sheathe the frame from both sides (inside and out).
Primer before finish
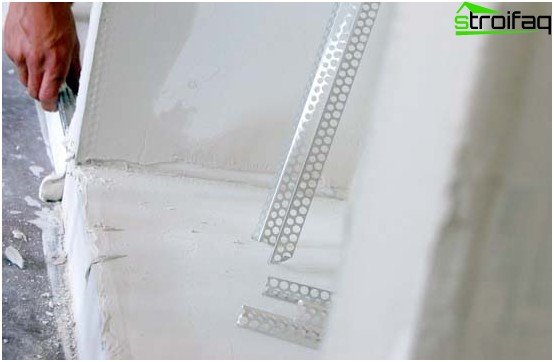
The finished structure is primed with gypsum plaster
The following is a primer design. After it dries, the seams are closed with gypsum plaster using a sickle mesh. The following is the putty of the entire surface. It can be made in one or two layers. After drying of each layer, a sanding is done. The final step will be the application of the topcoat..
If desired, you can make a wardrobe made of drywall. The technology is almost the same, only the depth of such a design is at least 0.6 m. After closing the seams in the doorway, the guides are attached at the top and bottom and the door is inserted. Ready-made drywall cabinet may look different in the end result.
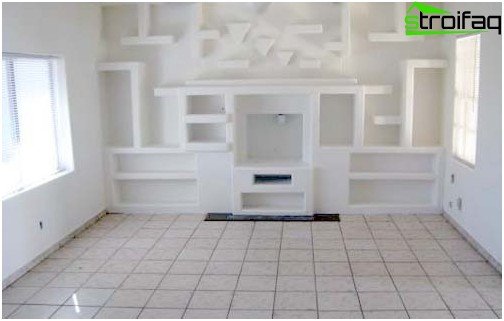
Everyone can create a truly unique design.
Everyone, making a product as they wish, can create a truly unique design. To paint a cabinet in any color, to paste over with wallpaper or cover with a self-adhesive film is not important, the main thing is that your creation will be in a single copy.


